SubLabXL
Audio plugin instrument for Future Audio Workshop.
- OpenGL
- JUCE
- C++
- UI/UX
SubLabXL is a synthesizer instrument plugin I helped create with Future Audio Workshop (FAW). It helps people create hard-hitting bass sounds for music production and is the successor to FAW's popular SubLab software. For SubLabXL, I programmed the majority of the GUI (~70%) in C++ using the JUCE software framework. This included creating 3 custom OpenGL audio visualizers: an oscilloscope, frequency spectrum, and 3D blob. Although I was not the primary UI designer, I did contribute UI design prototypes in various design phases. My primary responsibility was translating completed graphical design documents into a programmed GUI while matching the original design's aesthetics and interaction intent. I also wrote audio processing code for handling visualization of audio in the OpenGL visualizers and other UI elements. Additionally, I used multi-threading and thread-safety programming techniques. The project started development around August 2020 and was released in July 2022. After initial release, I also provided bug fixes.
SubLabXL featured by Andrew Huang in his top 10 plugins of 2022.
My Work on SubLabXL
Initial OpenGL Visualizers (Oscilloscope & Spectrum)
Soon after I finished graduate school in 2020, Gavin Burke, CEO & Creator of FAW, reached out to me after finding my open source OpenGL audio visualizer code. He offered me a paid, part-time opportunity to create an oscilloscope and spectrum audio visualizer for FAW's next product, SubLabXL. I happily accepted and over the next few months, I created new oscilloscope and spectrum visualizations using OpenGL, JUCE, and C++.
Oscilloscope Features
- Ran as a single-pass fragment (pixel) shader using Signed Distance Fields (SDFs) and only quad geometry
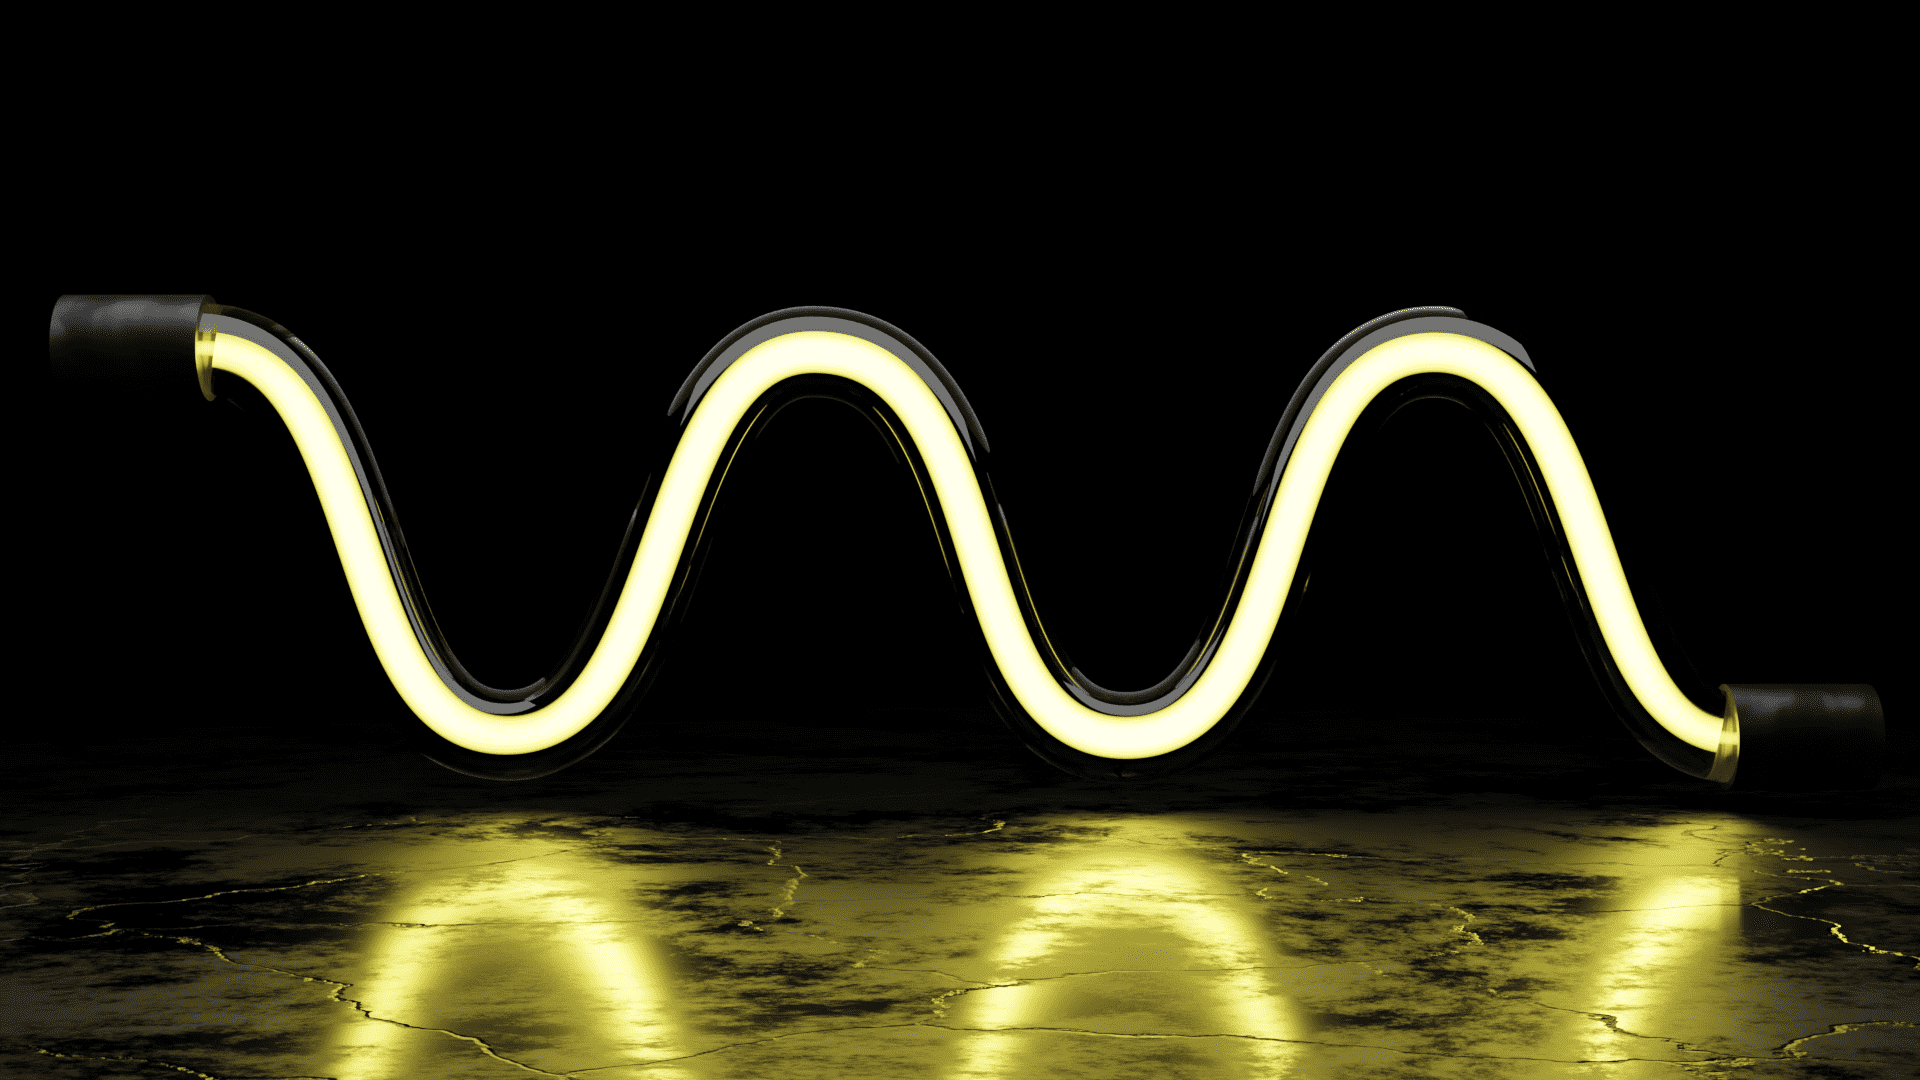
- Showed close-up waveforms with a triggering display
- Could display vertical lines of saw waves with even thickness throughout the line trace
- Showed consistent glow around rendered lines without using a separate shader pass or bloom technique (unused in final product)
- Audio processing code handled varying sample rates
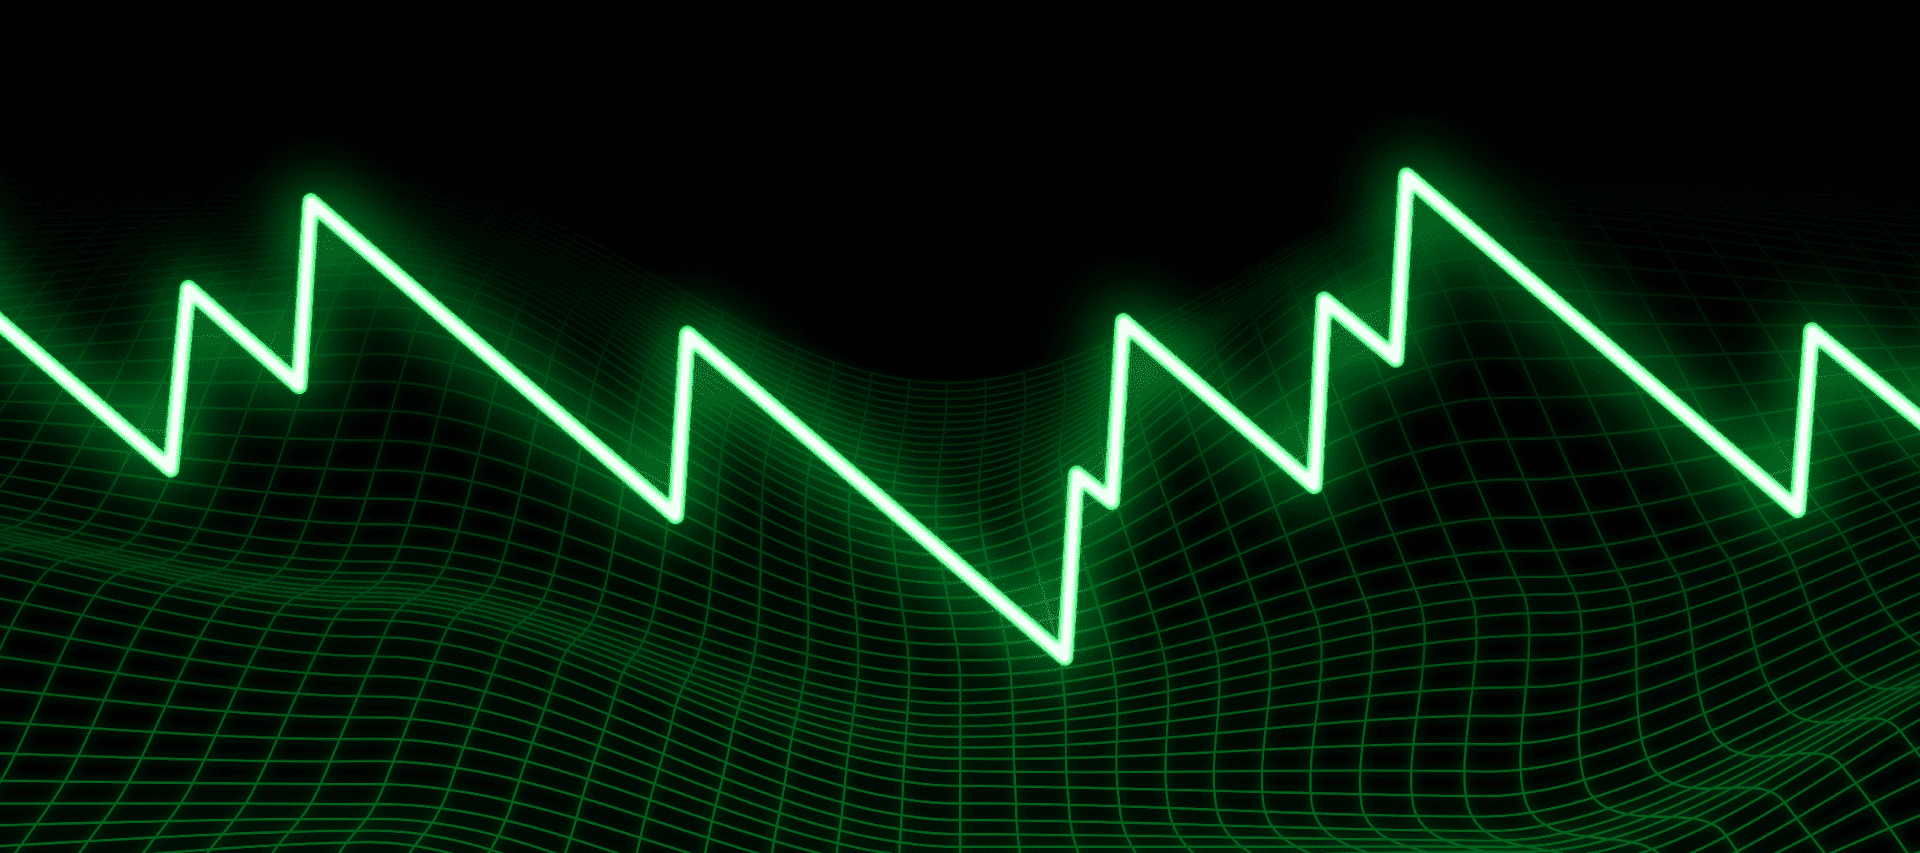
Spectrum Features
- Multi-layer spectrum: showed 3 different audio streams as 3 different graphs overlaid on top of one another.
- Ran each layer as a single-pass fragment (pixel) shader using Signed Distance Fields (SDFs) and only quad geometry.
- Could display vertical lines with even thickness throughout the line trace.
- Showed consistent glow around rendered lines without using a seperate shader pass or bloom technique (unused in final product)
- Smoothed spectrum segments using natural cubic spline (unused in final product)
- Audio processing code handled varying sample rates
JUCE GUI Work
After my initial visualizer work for FAW and showing Gavin I had prior experience making JUCE GUIs, Gavin brought me on to the team with a longer-term contract to help complete the UI of SubLabXL. I got to work with a small team consisting of a few software engineers and a designer. My primary job was creating JUCE UI Components, paint code, and laying out the user interface based on designs created by River Marchand. I also got to create animations for various components like the visualizations in the audio effects section and page navigation UI. I created custom animation timeline utilities to handle the more complex animations.
Most often, it was straightforward to translate our design documents into programmed GUI and intuit how the user-interaction should work given a particular design. But sometimes, there were difficult interaction design problems we had to address as a team once we began coding a portion of the UI. For example, from the sampler UI design, it was not obvious how the user would drag timeline markers and how multiple markers would interact if they overlapped. We had around 3 design passes for the sampler trying different options.
In another design iteration, we added macro assignments to SubLabXL, so a user could drag/drop to assign a macro control to modify any number of other parameters on the UI. We had not accommodated for this in the original design and had to create modifications to basic UI elements and the addition of popups to allow for it. For example, the filter is shown as an XY control with the cutoff parameter on the x-axis and resonance on the y-axis, but it was not obvious how a user could drag-drop on top of an XY control to map only one of the two parameters it controls. We tried designs showing temporary UI when the user performed a drag/drop action, such as showing overlaid text on the left and right halves of the filter. We decided upon showing a popup above the filter listing its parameters & values and allowing drag-drop assignment to each individual parameter in the list. This solution also solved other problems by allowing a user to see the current value of each parameter and letting them manually enter textual values.
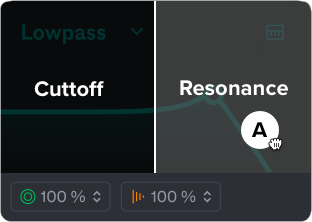
Filter Drag/Drop Idea
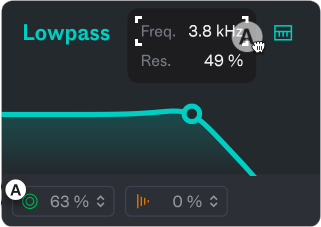
Finalized Filter Drag/Drop
Single-Context OpenGL Rendering System
Bringing together the OpenGL visualizers and painted JUCE components into one GUI was not a straightforward task. By default in JUCE, when you write custom OpenGL rendering programs, you are required to use a separate OpenGLContext per custom renderer (per visualization). This is pretty inefficient since a single OpenGL context is really only needed per-application or per-window, and our app would require 3+ contexts for our multiple custom GL programs. Using multiple OpenGLContexts has also proven to cause problems for JUCE plugins in the past. To get around these problems, I created a single-context OpenGL rendering system in JUCE which allowed us to use one OpenGLContext to run all of our custom OpenGL visualizers and all of our JUCE UI. Developers on the JUCE forum helped point me in the right direction.
3D Blob Visualization
As we continued developing, one of the areas of the UI we had not fully designed was the macro page. This page was meant to have only minimal controls (2 macro sliders) and allow the user to browse various sound presets while looking at a cool image or visualization representative of the current sound pack. As we brainstormed ideas for the page, Julia came up with the idea to have an audio visualization of a 3D blob that would ripple based on the audio level. The idea quickly stuck with the team and I began work on creating the visualization in OpenGL. Over a few months I created the 3D blob visualization. I referenced LearnOpenGL.com and other OpenGL code examples we found online to guide me in the process.
3D Blob Features
- Dynamic blob geometry
- Realtime PBR (physically based rendering) system supporting translucency and reflections
- Image-based lighting via cube map HDRI
- Basic image texture loading
- 3 point lights
- 3 independent controls for audio influence on the blob surface
- Developer controls to customize blob material and dial in audio influence so we could have a different blob visualization per sound pack
- Save/load of Blob settings to XML files
Extra Creative Work
Near the end of the project, I also contributed some 3D rendered pack images and a sample pack of my Korg Minilogue XD that ships with SubLabXL!
Sound-pack art images I created for SubLabXL.